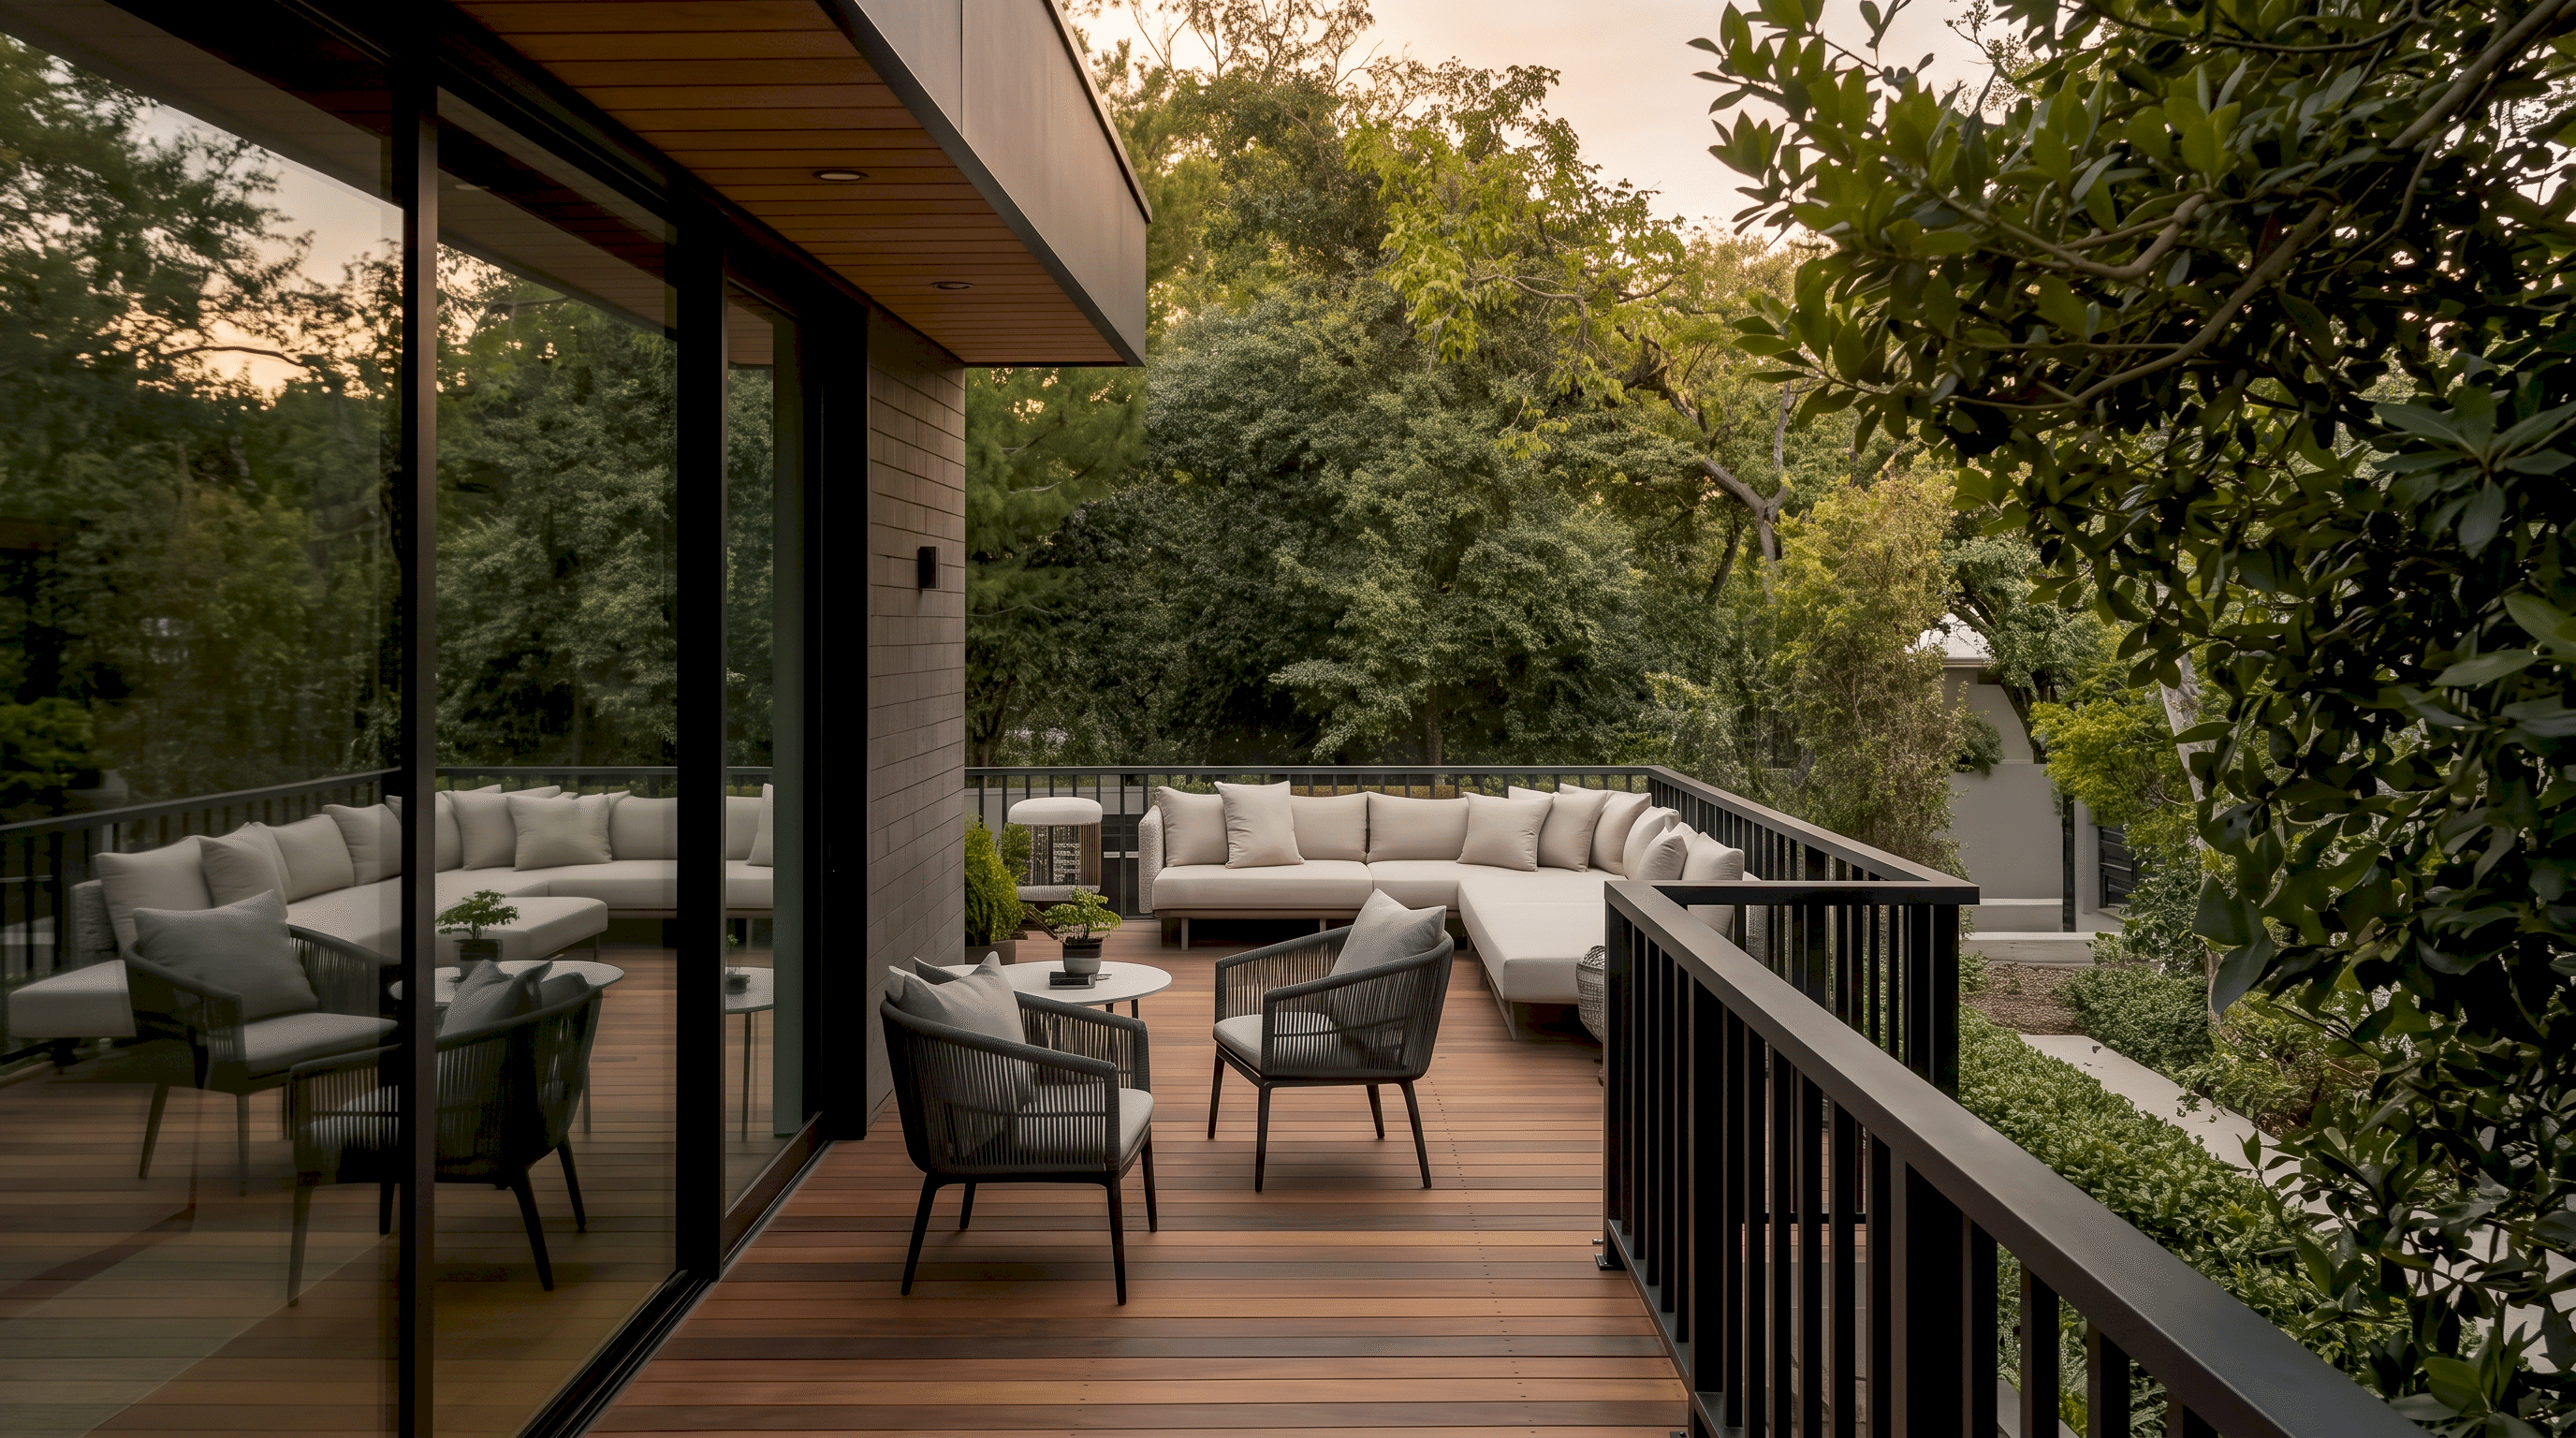
Multi-Level Decks: Zoning for Dining, Lounge, and Grill
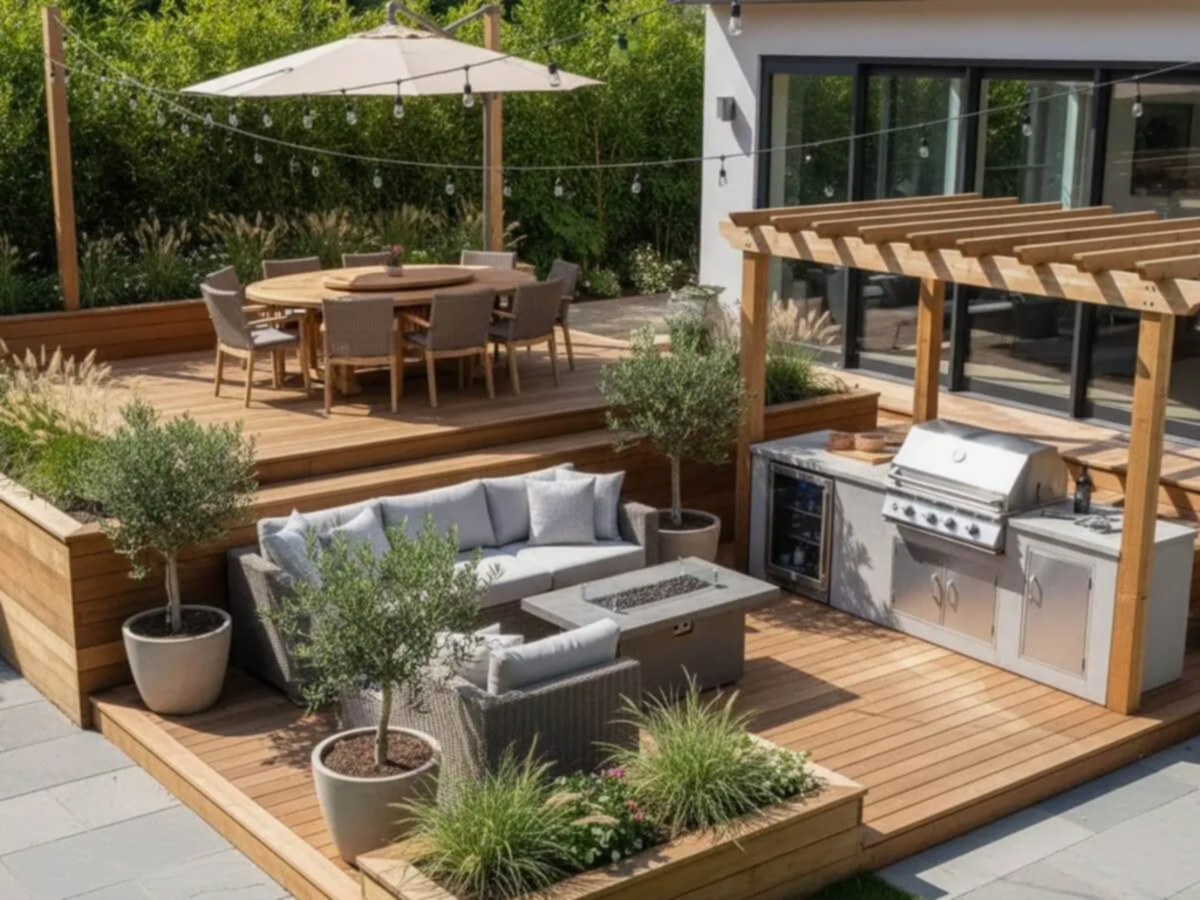
A multi-level deck turns one flat surface into a series of purposeful outdoor rooms. With smart zoning, you can eat, relax, and cook without crowding, smoke drift, or traffic jams. Below is a practical guide to plan each zone, tie them together, and meet key safety and code expectations—all in a clear, build-ready way.
Why Multi-level Decks Work
Elevation Creates Natural “Rooms”
Stepping levels up or down defines activities without walls. You can place dining nearest the kitchen door, a mid-level lounge for conversation, and a lower cooking pad that keeps heat and smoke away from guests. Tiering also helps manage slopes with less excavation and cleaner drainage (and looks great from the yard).
Quick Benefits
- Clear functions: Each level has a job—eat, lounge, cook—so furniture stays organized and traffic flows.
- Better views and privacy: Subtle height changes frame sightlines and screen neighboring yards.
- Safety by design: Heat and sharp tools stay on the cooking tier; kids and guests relax elsewhere.
Plan The Three Core Zones
Dining Zone: Size And Layout That Actually Fits
The most common mistake is under-sizing the dining pad. Plan space for the table and the people moving around it.
Sizing Rules That Help You Avoid Crowding
- Around the table: Leave about 36 inches of clear space around a dining table for comfortable movement; 42–48 inches is ideal where chairs slide often or servers circulate.
- Per place setting: Aim for roughly 24 inches of table width per person for comfortable elbows and plates.
- Main walk path: Keep at least a 36-inch continuous path for circulation (also aligns with accessibility guidance for clear routes).
Lounge Zone: Conversation First, Then Décor
Lounge areas work best when people can talk without shouting and set drinks within easy reach.
Spacing That Feels Right
- Coffee table to seating: About 24 inches between a sofa and coffee table balances reach and walk-through.
- Side-table reach: Keep small tables close to seats; they don’t need walkway clearance.
- Flow lane: Maintain that ~36-inch pass-through behind chairs so no one squeezes.
Grill / Cooking Zone: Safety, Smoke, And Convenience
Cooking belongs on its own level or at least its own corner—spaced so heat, flame, and smoke never cross guest areas.
Fire-Smart Placement
- Keep the grill away from the house, railings, and eaves, and never under low overhangs or tree branches. This is a core fire-safety practice.
- Mind the wind. Place the grill downwind of seating and doors so smoke moves away from people and the interior.
- Under a roof? If the grill sits beneath a canopy or two adjacent walls, use a properly sized outdoor vent hood and follow local code and the appliance manual for clearances.
- Manufacturer clearances: As a planning example, some built-in grill manuals call for 6 in. minimum to non-combustible side/rear walls and 15 in. minimum to combustibles above the non-combustible counter; always confirm your model’s spec.
Tie The Levels Together: Stairs, Guards, And Flow
Stairs And Landings That Feel Safe
Stairs should be comfortable to climb and wide enough for two people to pass.
What To Plan For
- Width: Residential stairways should be not less than 36 inches clear width.
- Consistent geometry: Typical IRC parameters: max riser ~7¾ in., min tread 10 in., uniform within a small variation; plan to your local code edition.
- Clear path: Keep main routes between zones at ~36 inches minimum to reduce bumps and tray spills.
Guards And Rail Details
Any drop can require guards; height and openings matter.
Guard Basics To Remember
- When required: Guards are required where the walking surface is >30 inches above grade within 36 inches of the edge.
- Height & openings: Typical residential decks use ~36-inch-high guards, and infill openings must not pass a 4-inch sphere. Always confirm your jurisdiction’s adoption.
Structure And Loads For Multi-level Decks
Plan For The Weight You’ll Actually Carry
Outdoor kitchens, stone tops, filled coolers, and crowds add up.
Structural Checkpoints
- Design live load: The IRC lists 40 psf live load for decks/balconies (plus dead load and any snow/wind as applicable). Size beams/joists and posts accordingly.
- Beam/joist tables: Use span tables from your local code resources (many jurisdictions publish handouts based on current IRC tables).
- Guard’s strength: Guards must resist a 200-lb concentrated load—use robust posts, blocking, and hardware.
Lighting, Utilities, And Surfaces
See Your Steps, Save Your Shins
Light stair treads, transitions between levels, and all primary paths. Low-glare fixtures at eye level and cap lights on posts reduce trip hazards while preserving night comfort.
Gas, Power, and Water—planned From Day One
If you’re running gas to the grill or adding a sink or fridge, route lines before framing is closed. Where grills sit under covers, size the vent hood to the grill width and depth, and mount it at the height recommended by the manufacturer and local rules.
Heat-Tolerant Finishes In The Cook Zone
Use non-combustible or high-temperature-rated surfaces at and behind the grill, per the appliance manual. Keep grease trays accessible, and place a fire extinguisher within reach.
A Simple Zoning Layout You Can Adapt
Step-by-Step
- Map the door from the kitchen and place the dining level within an easy, unobstructed 36-inch path. Size the pad to your table plus 36–48 inches all around.
- Position the lounge one step up or down from the dining. Keep ~24 inches coffee-table reach and maintain a 36-inch walkway behind chairs.
- Drop the grill zone one tier away from seating, away from railings/eaves and downwind of doors and chairs. Add landing space on both sides of the grill for trays. Use a vent hood if under a cover and follow model-specific clearances.
- Connect levels with a 36-inch stair, consistent risers/treads, and guards where required (>30-inch drop; 4-inch max infill).
- Verify structure for loads: apply 40 psf live load plus any island/appliance weight; choose spans and post sizes from current tables or engineering.
Permits And Inspections (Brief But Important)
Before you build, check your local permitting office. Many jurisdictions publish deck guides and will review plans for spans, footings, guards, and stairs. Passing inspections protects safety and resale value.
Bring Your Multi-level Deck To Life With Intercrus Decks
A well-planned multi-level deck feels effortless: meals flow from the kitchen to a right-sized dining pad, conversations settle into a comfortable lounge, and the grill works safely and cleanly on its own tier. If you want this level of clarity, safety, and day-to-day ease on your property, Intercrus Decks can design and build a plan that fits your space, zoning needs, and local rules. From first sketch to final walkthrough, we focus on smooth circulation, safe cooking layouts, and strong structure—so you enjoy your deck more, in every season. Ready to start? Contact our deck builders to schedule your on-site assessment today.